1. Navigate to https://dashboard.curenta.com/patients
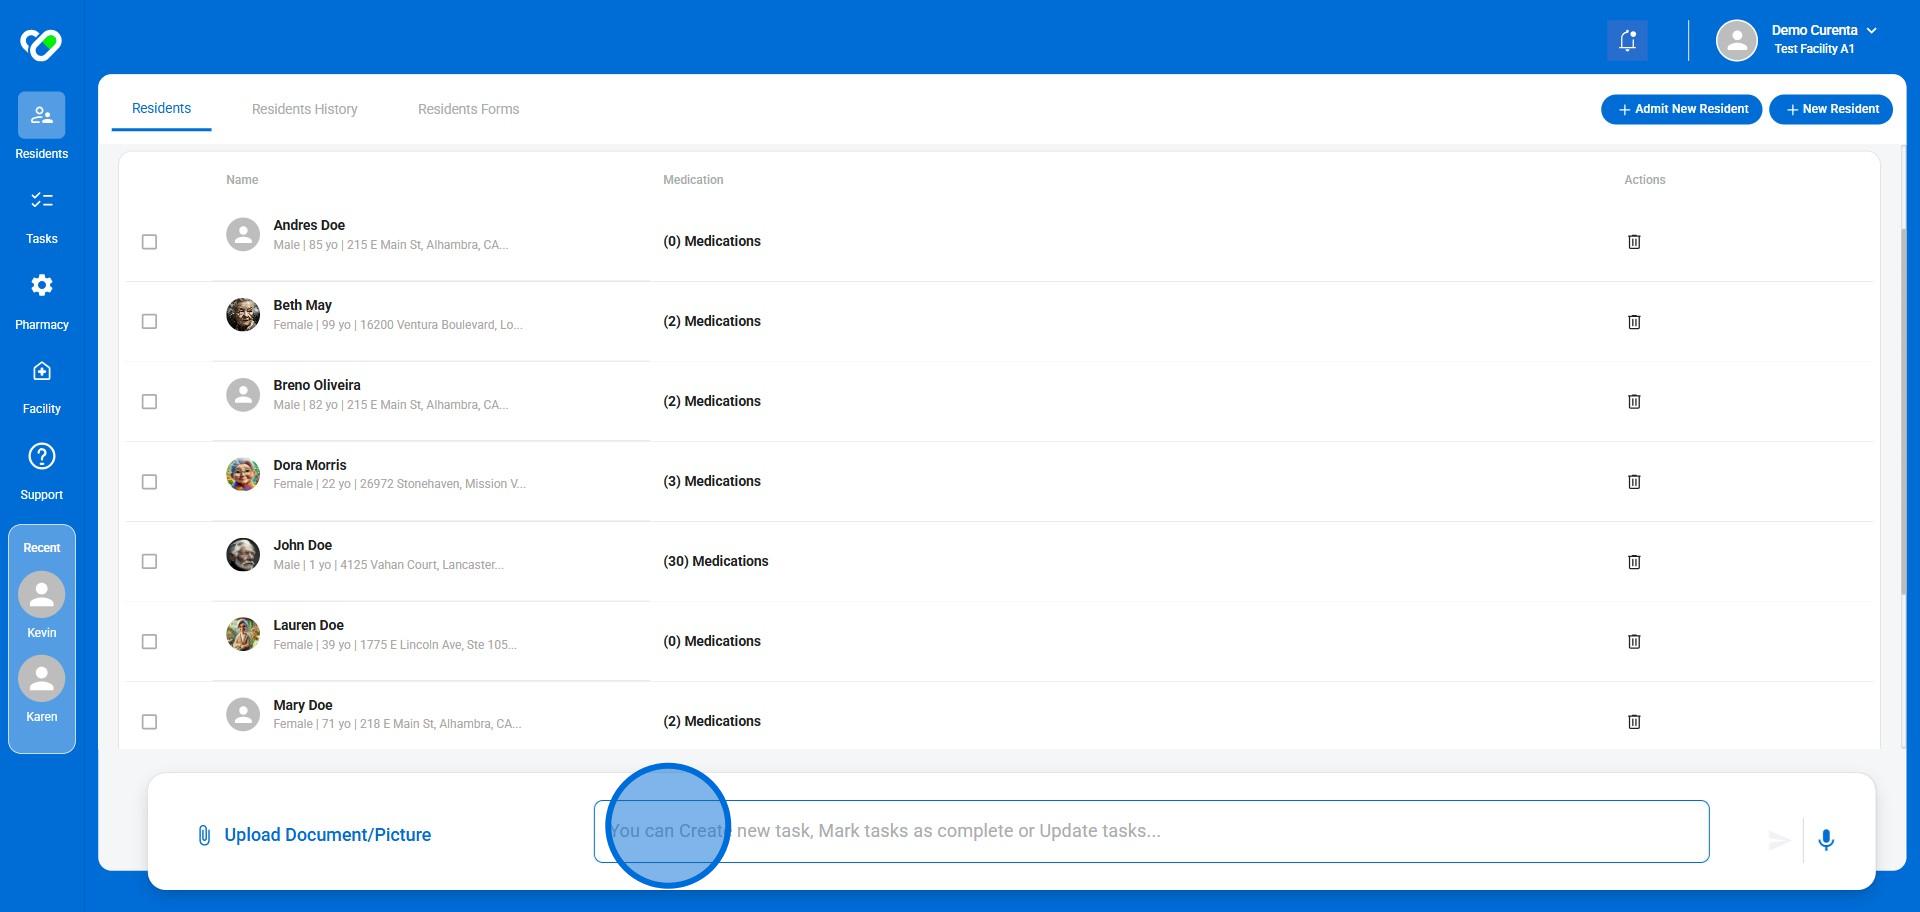
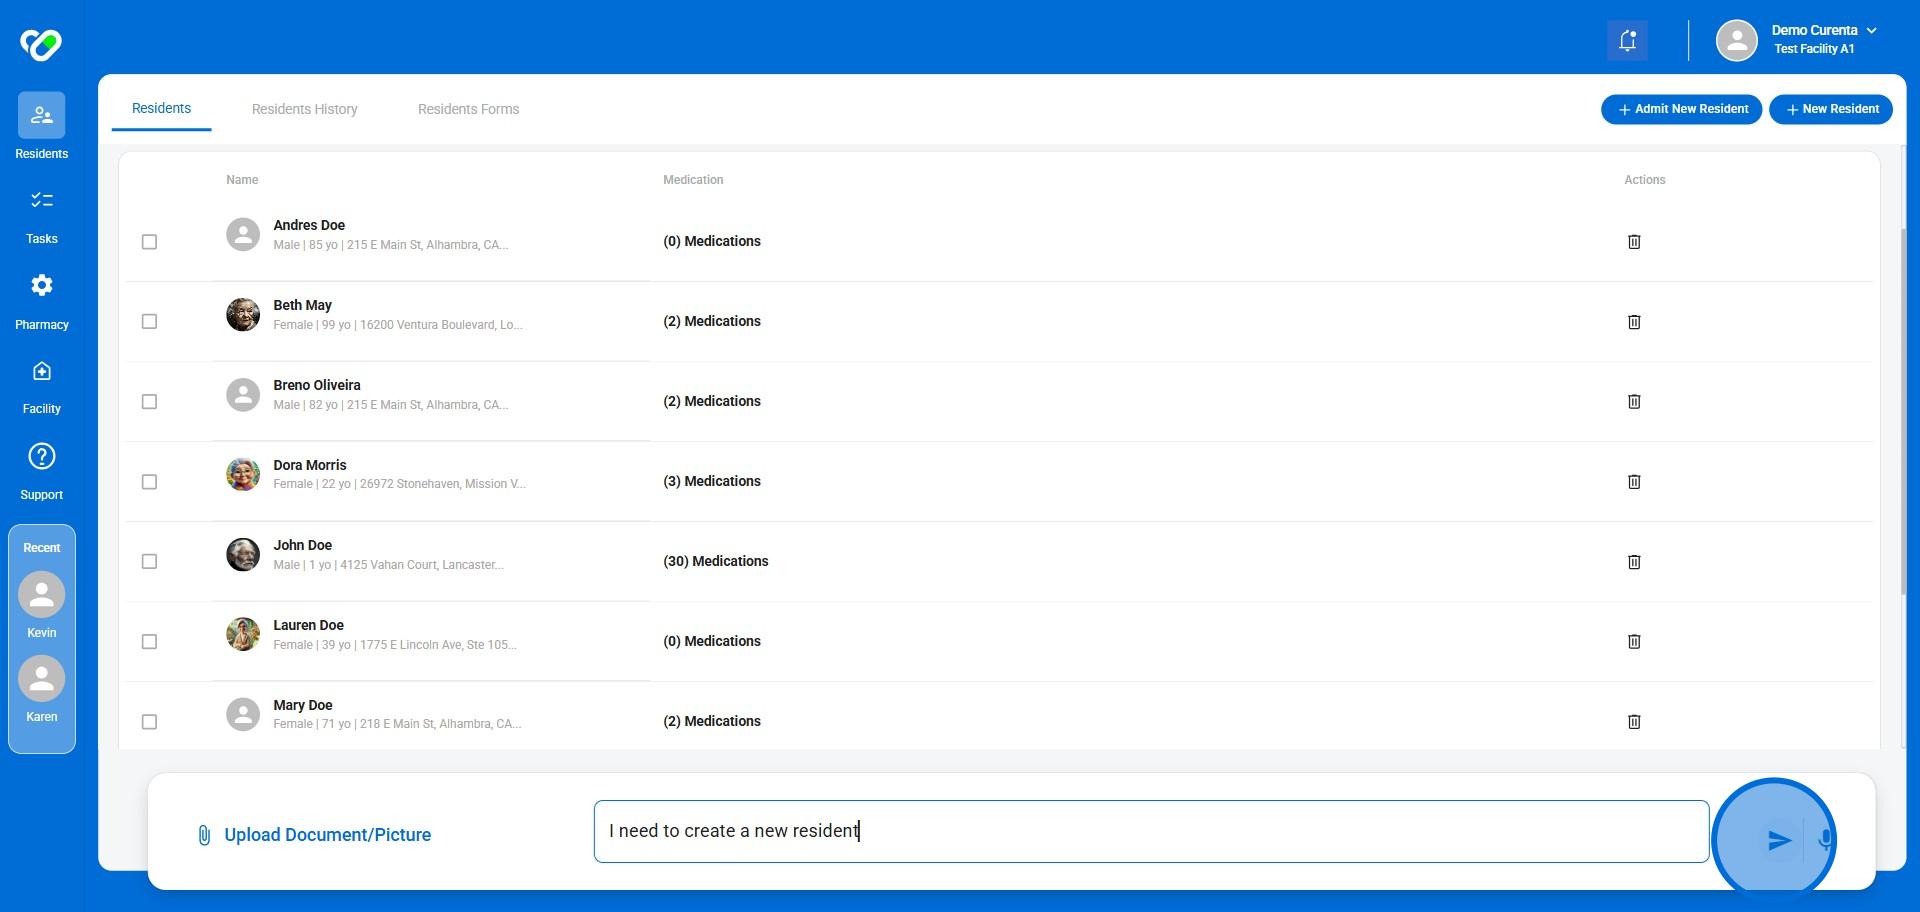
2. Click here and type in "I need to create a new Resident"
3. Click "Send" or this icon
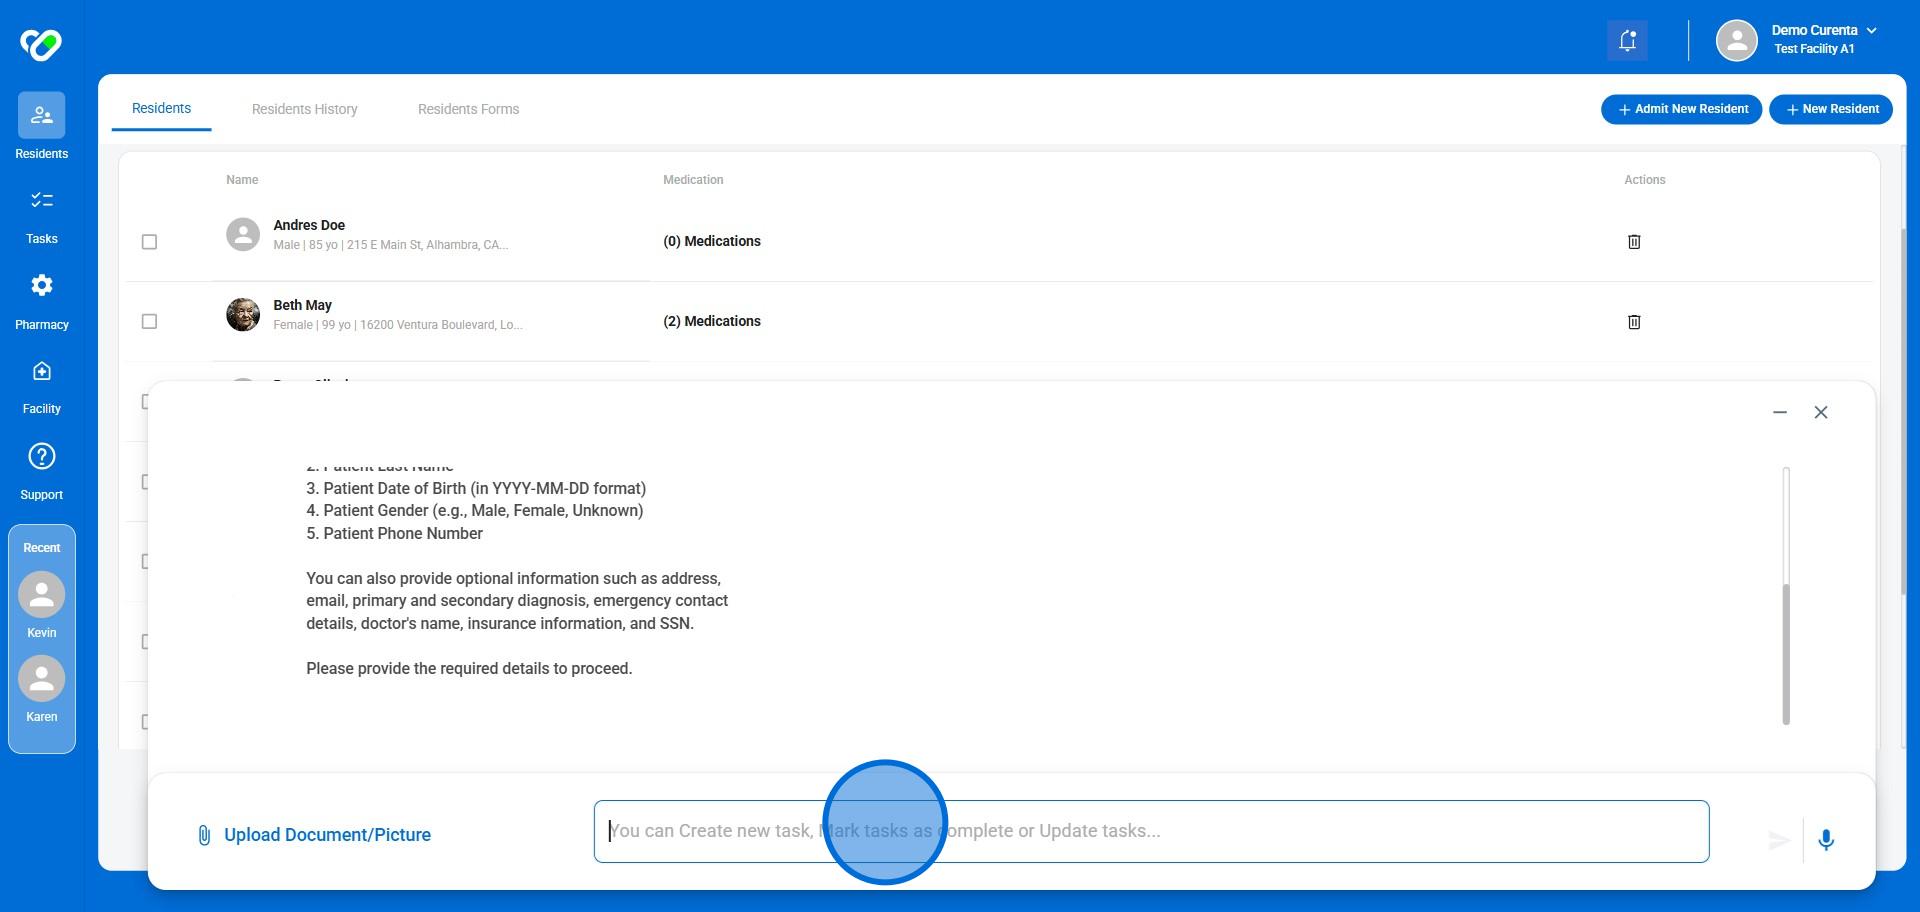
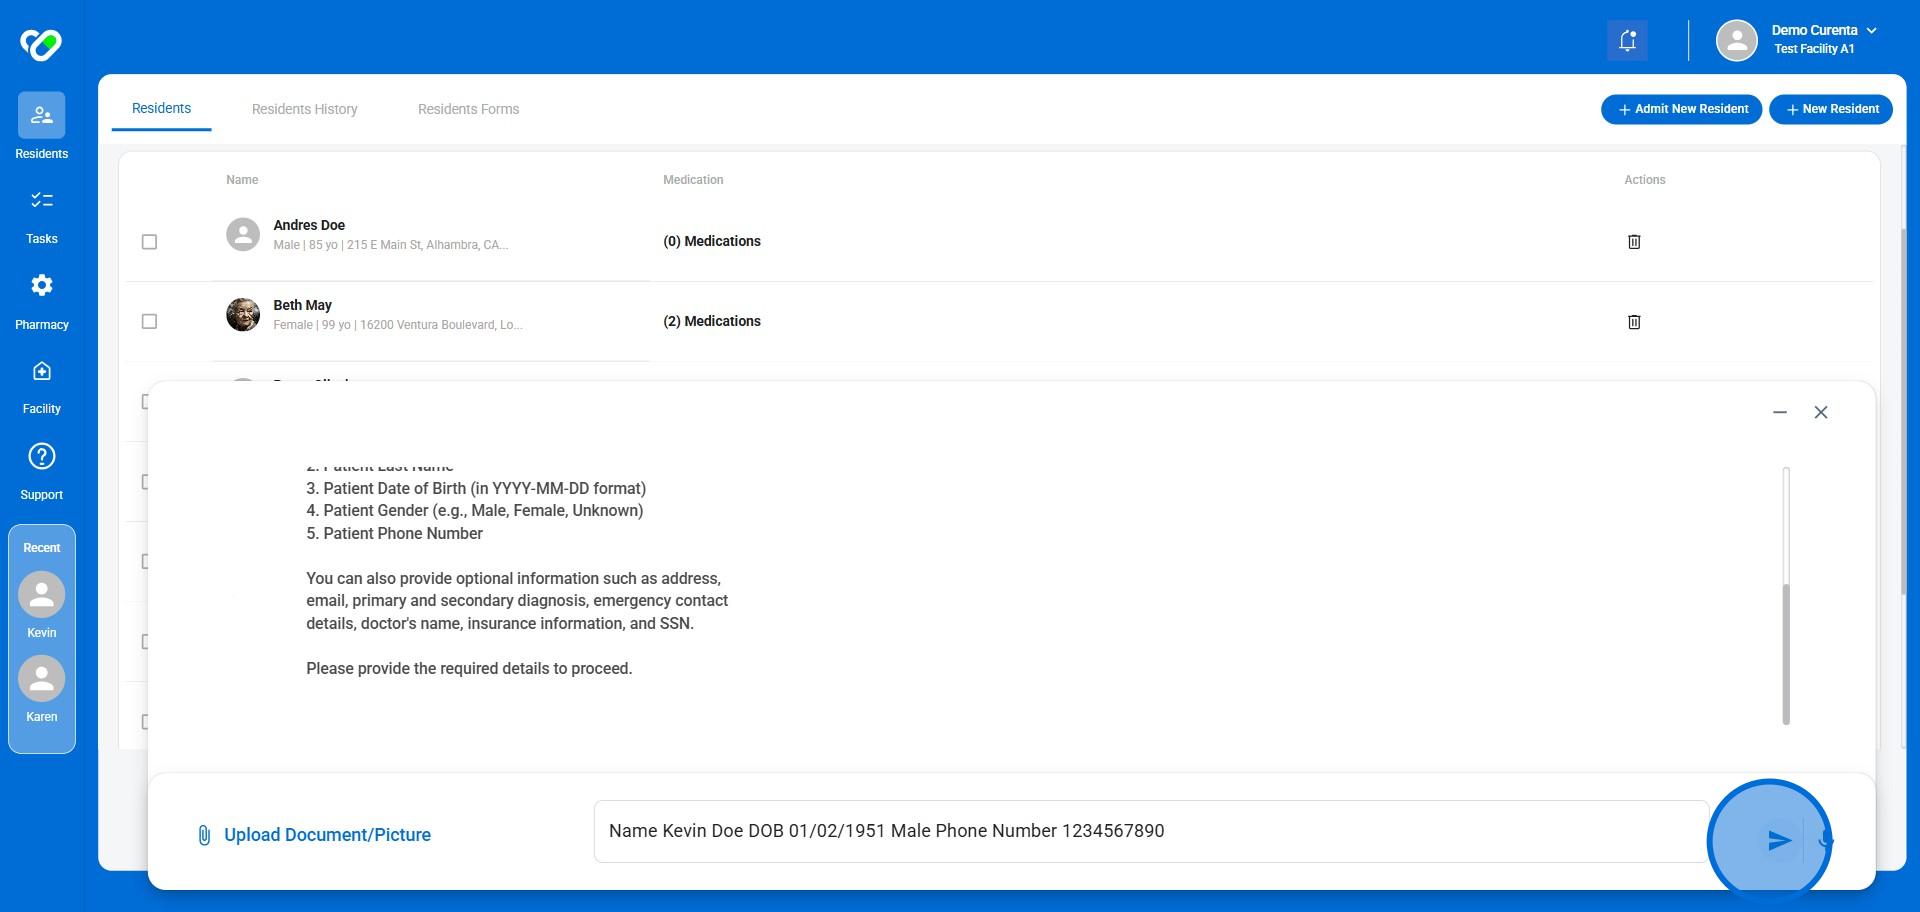
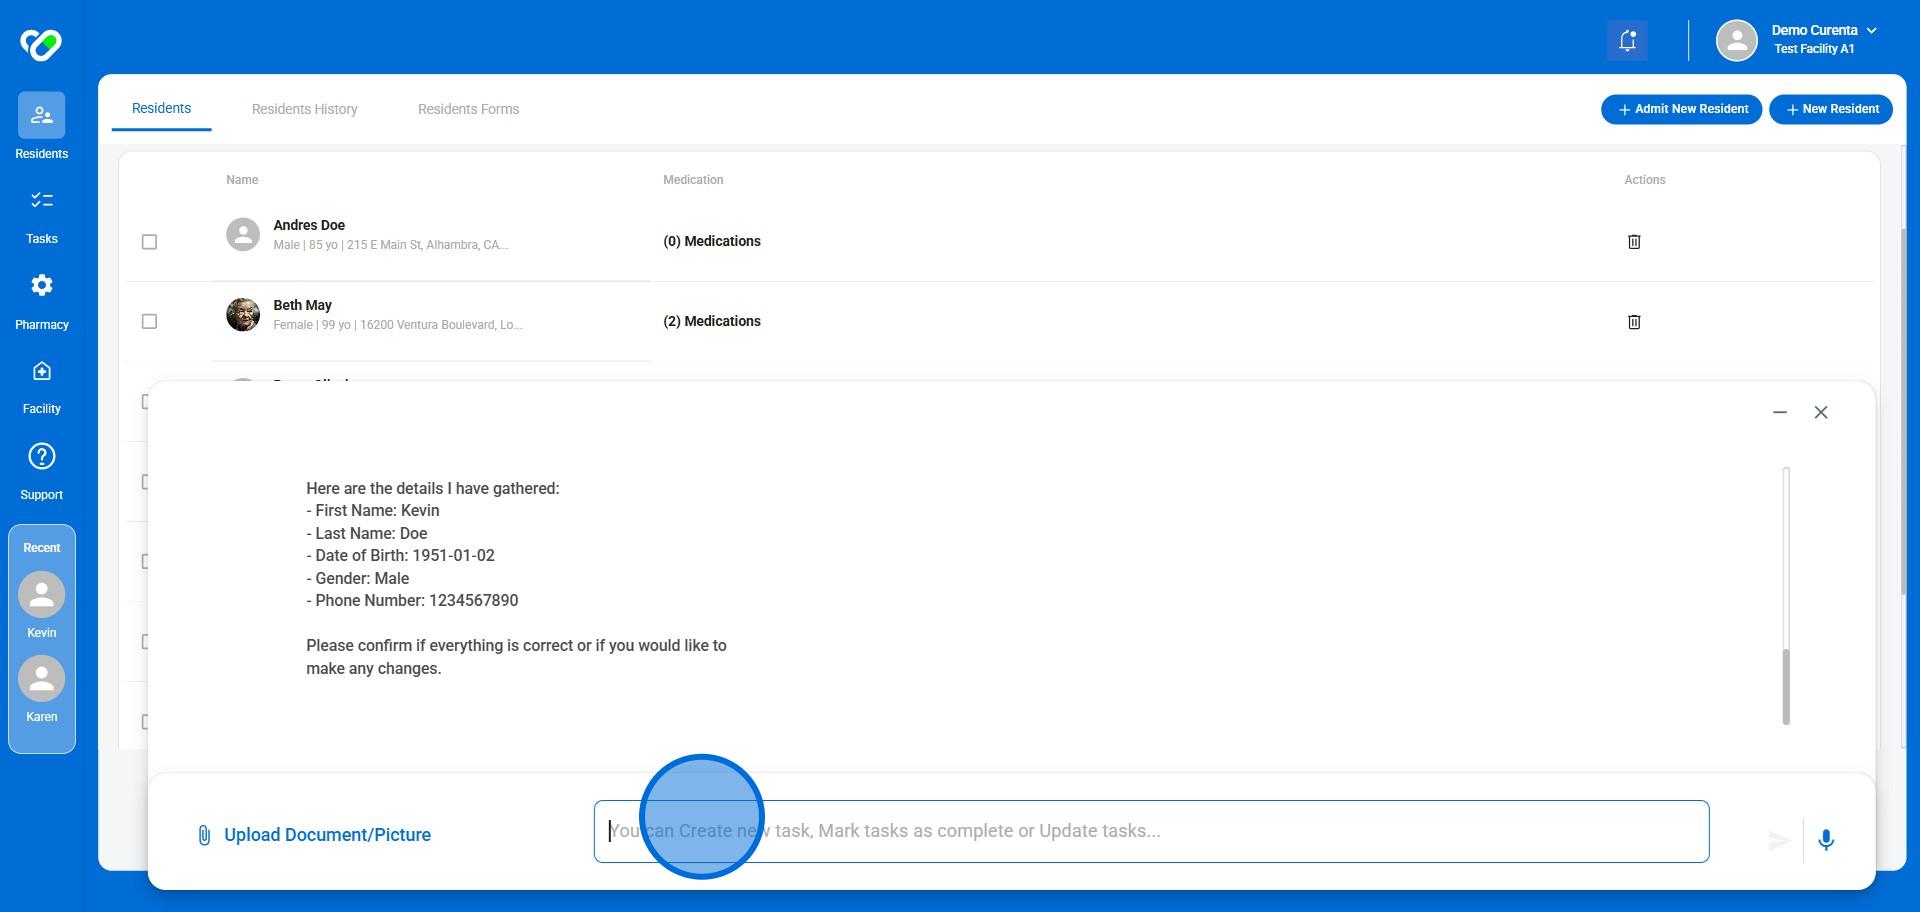
4. Click on the chat bar and type in the Resident's info
5. Click "Send" or this icon
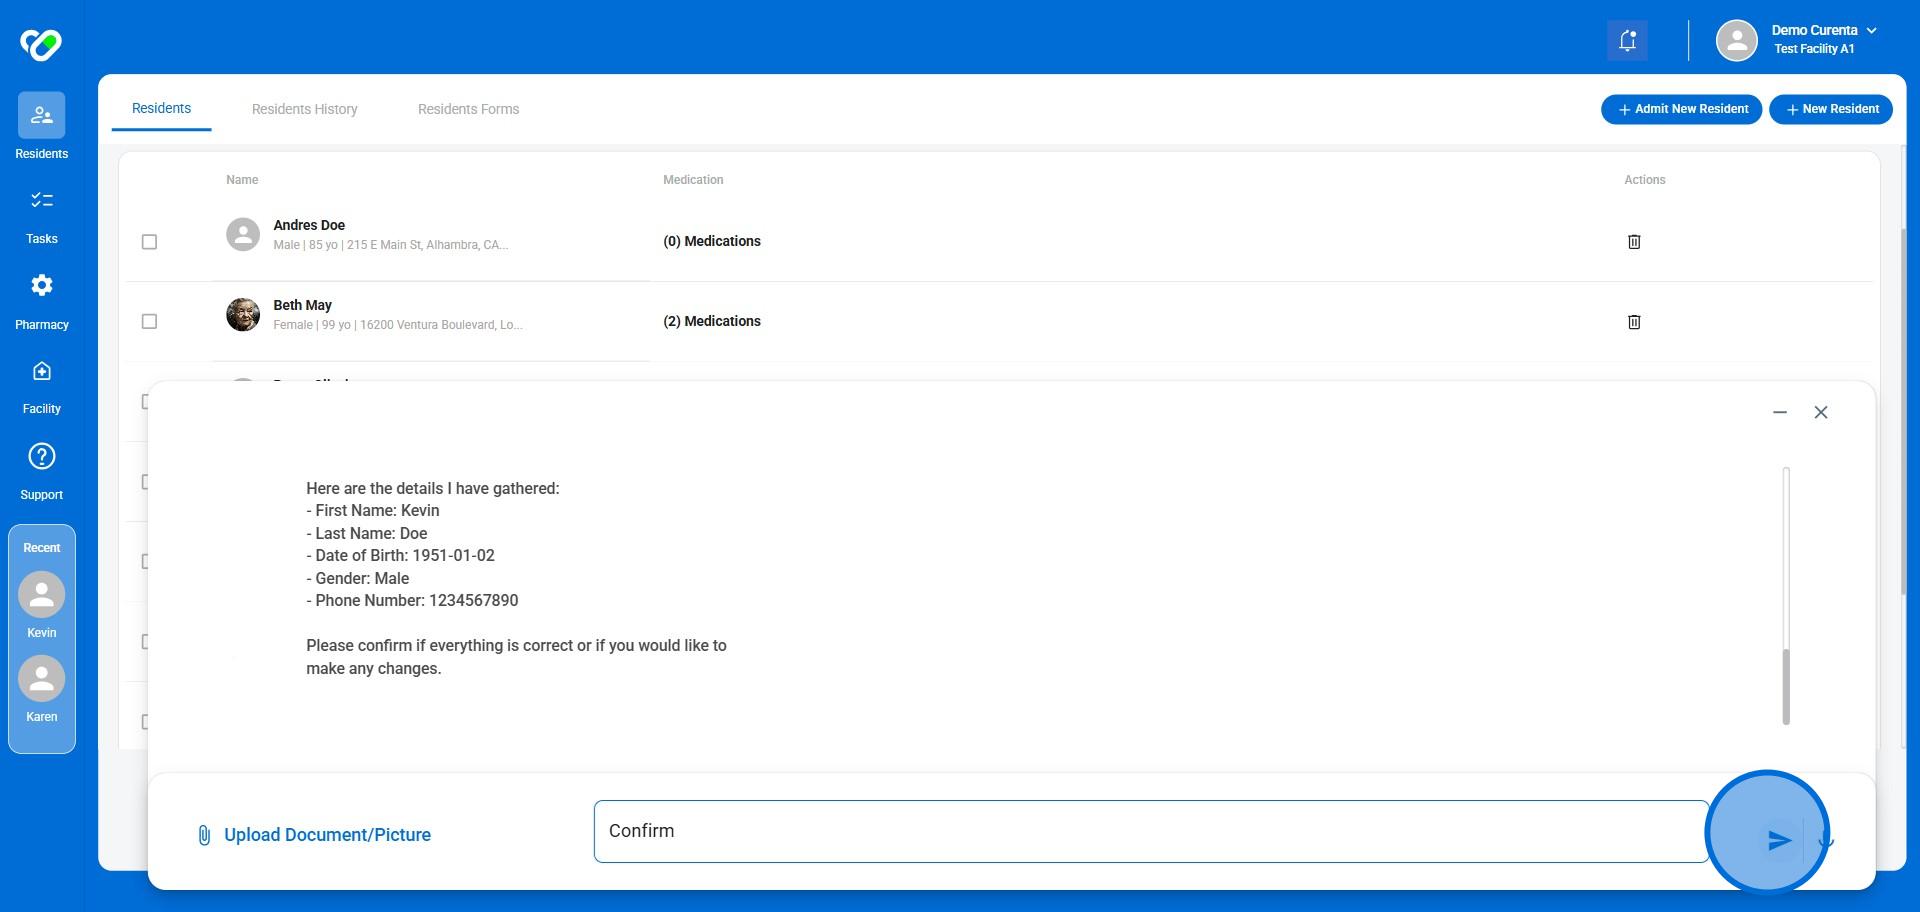
6. Click here and type in "Confirm" or "Proceed"
7. Click "Send" or this icon
8. Minimize the Chat or Click this icon
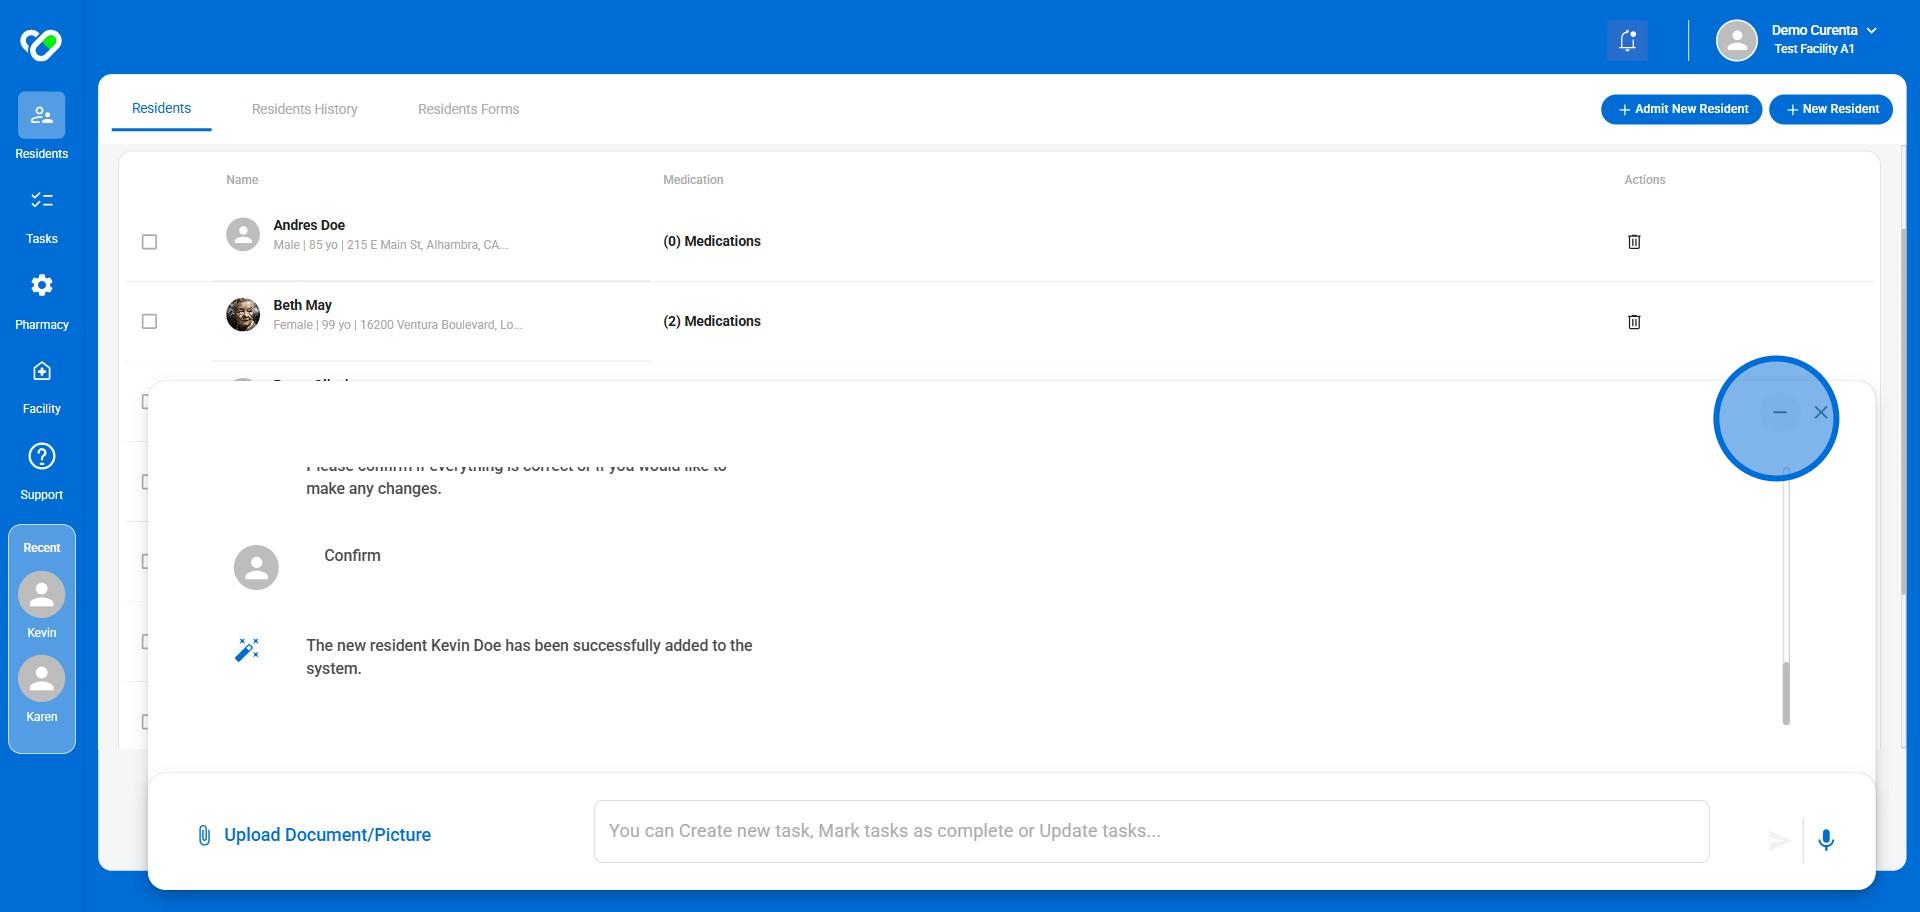
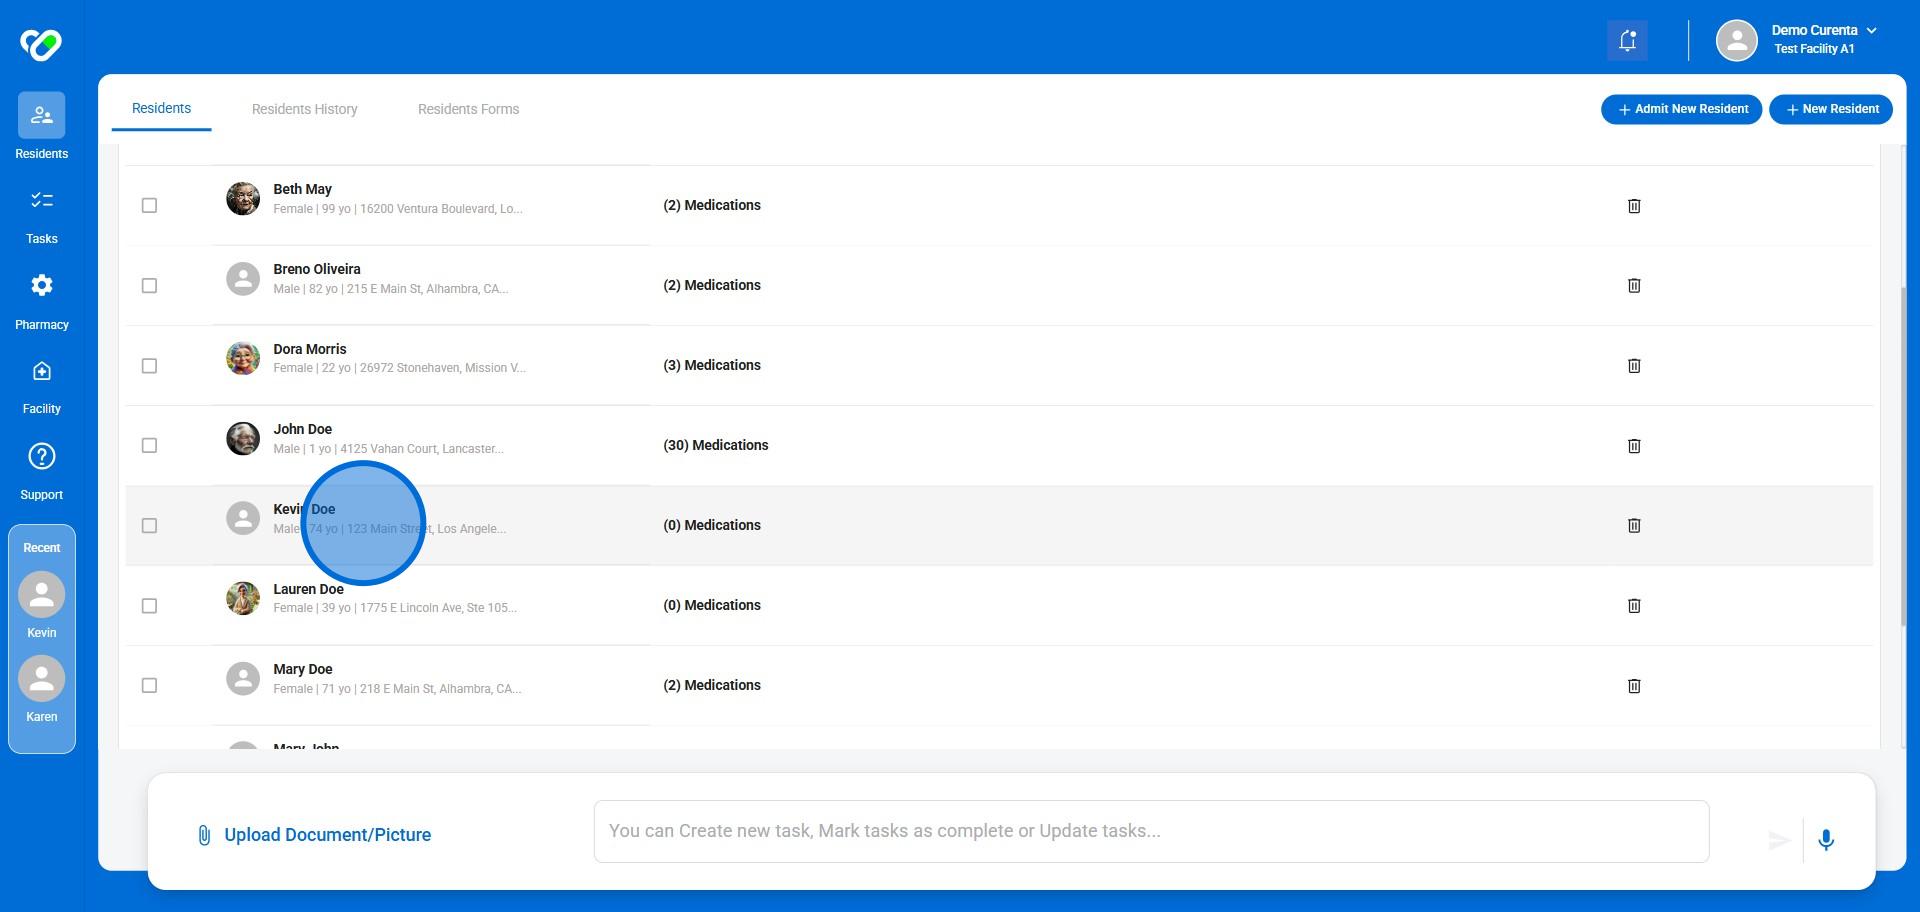
9. Then, refresh your browser.
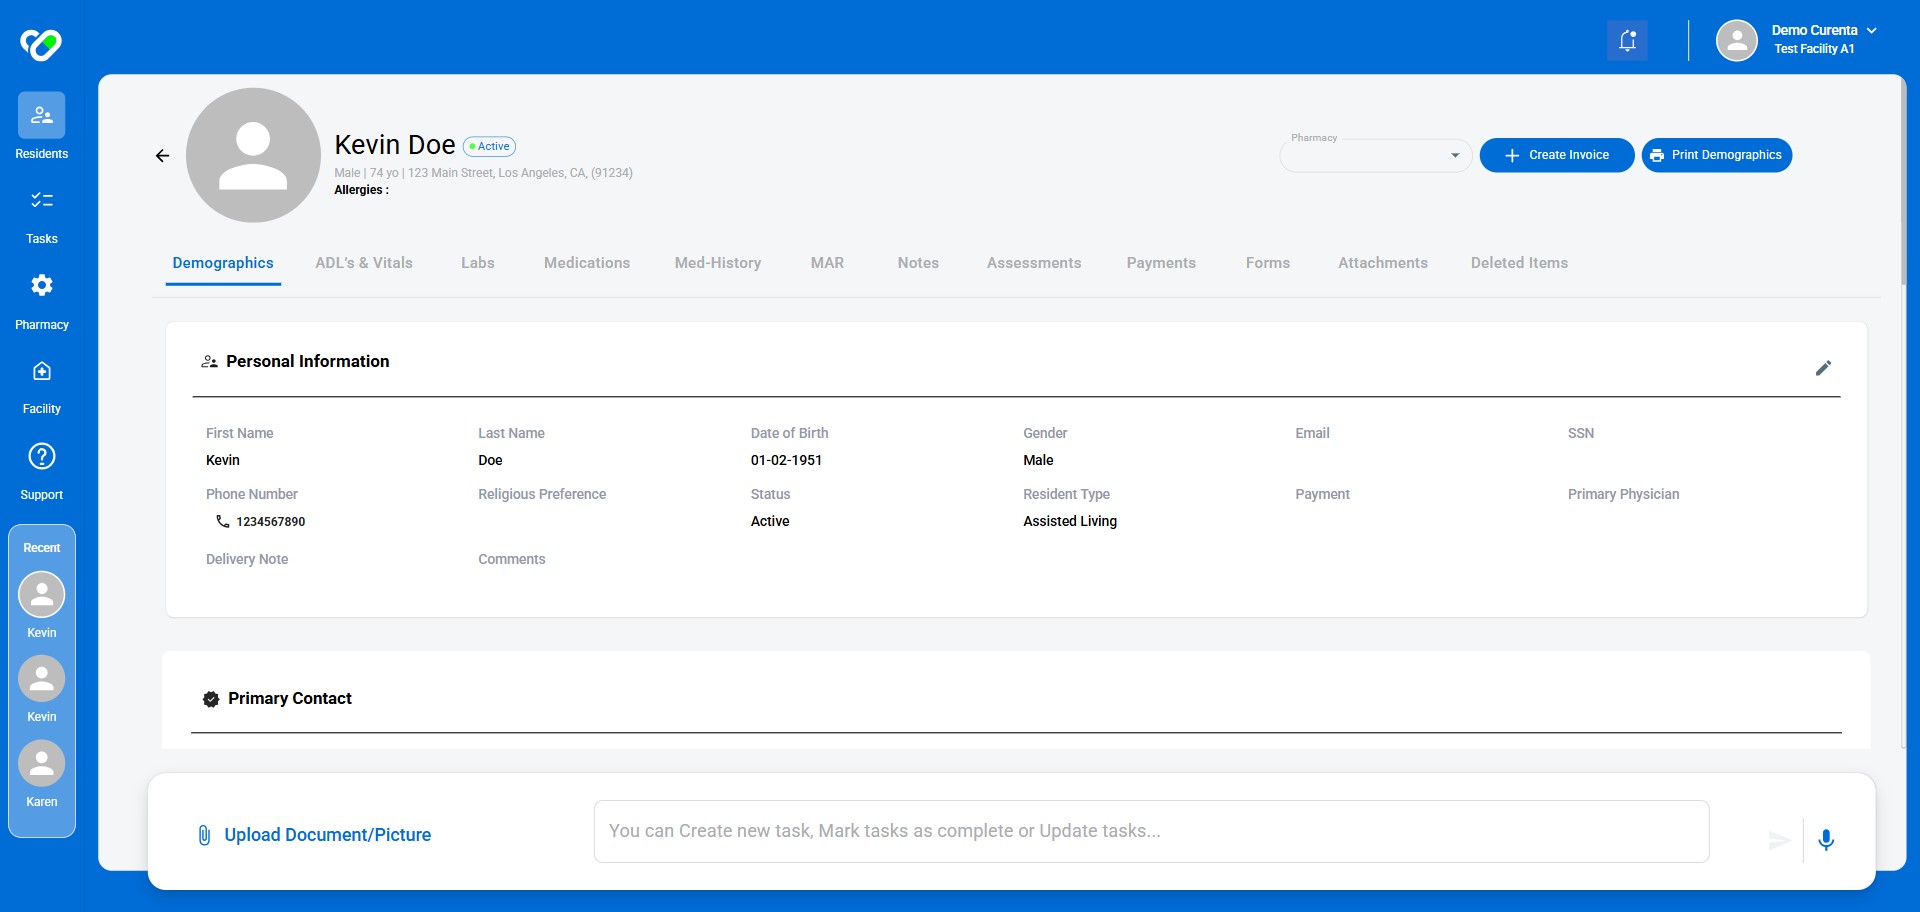
10. Click on the new resident you have just created
11. Have fun! 🚀
Frequently Asked Questions
- What if I encounter an error while admitting a new resident using AI-Chatter?
If you encounter an error, refresh your browser and try again. If the problem persists, please contact the AI-Chatter support team for assistance. - Are there any specific prerequisites or requirements for admitting a new resident using AI-Chatter?
To admit a new resident using AI-Chatter, you will need to have access to the Curenta dashboard and be logged in with the appropriate permissions. - How do I know if the resident's information has been successfully saved?
Once you have completed the admission process, a confirmation message will appear on the screen, and the resident's information will be reflected in the Curenta dashboard. You can also double-check the resident's details to ensure accuracy. - What if I need to modify the resident's information after admitting them?
You can modify the resident's information at any time by navigating to the resident's profile in the Curenta dashboard and making the necessary changes.